
Last updated November 16, 2026
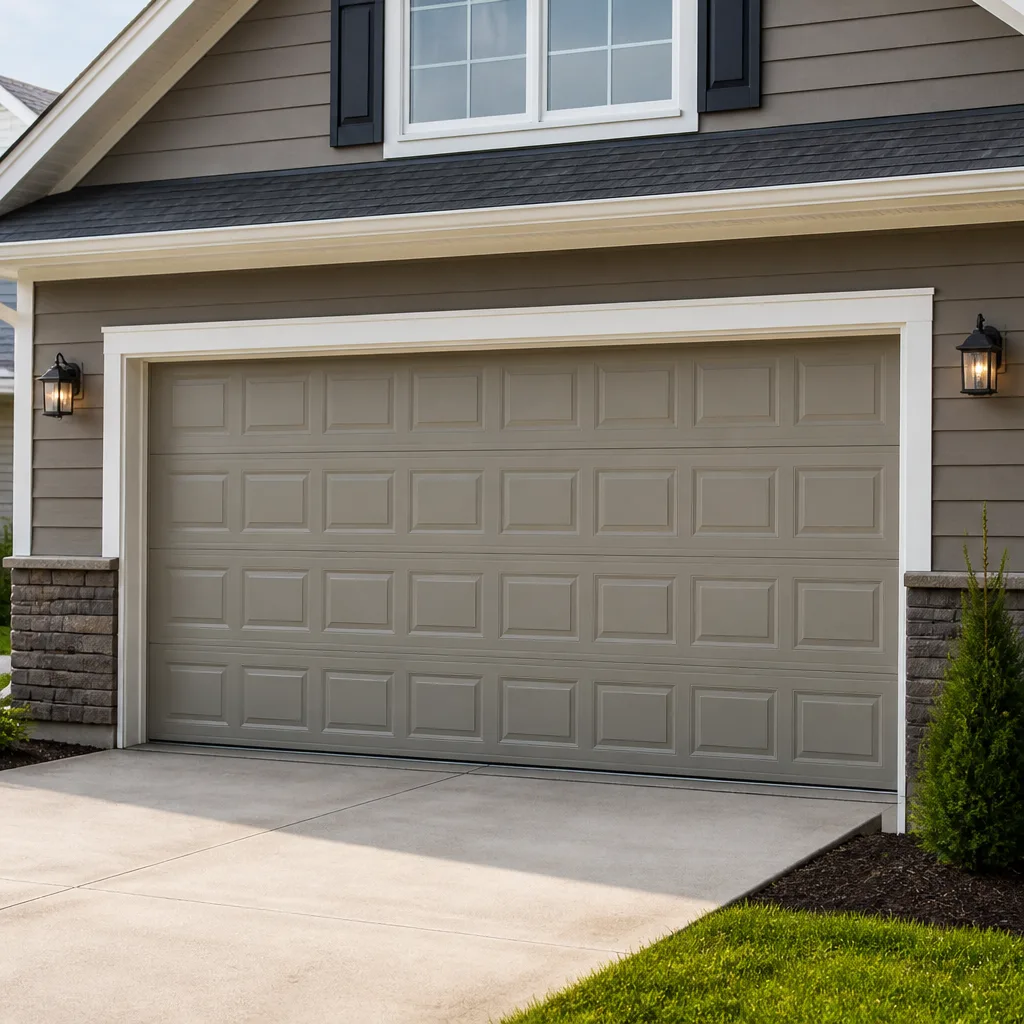 Raised-panel steel
 Carriage house
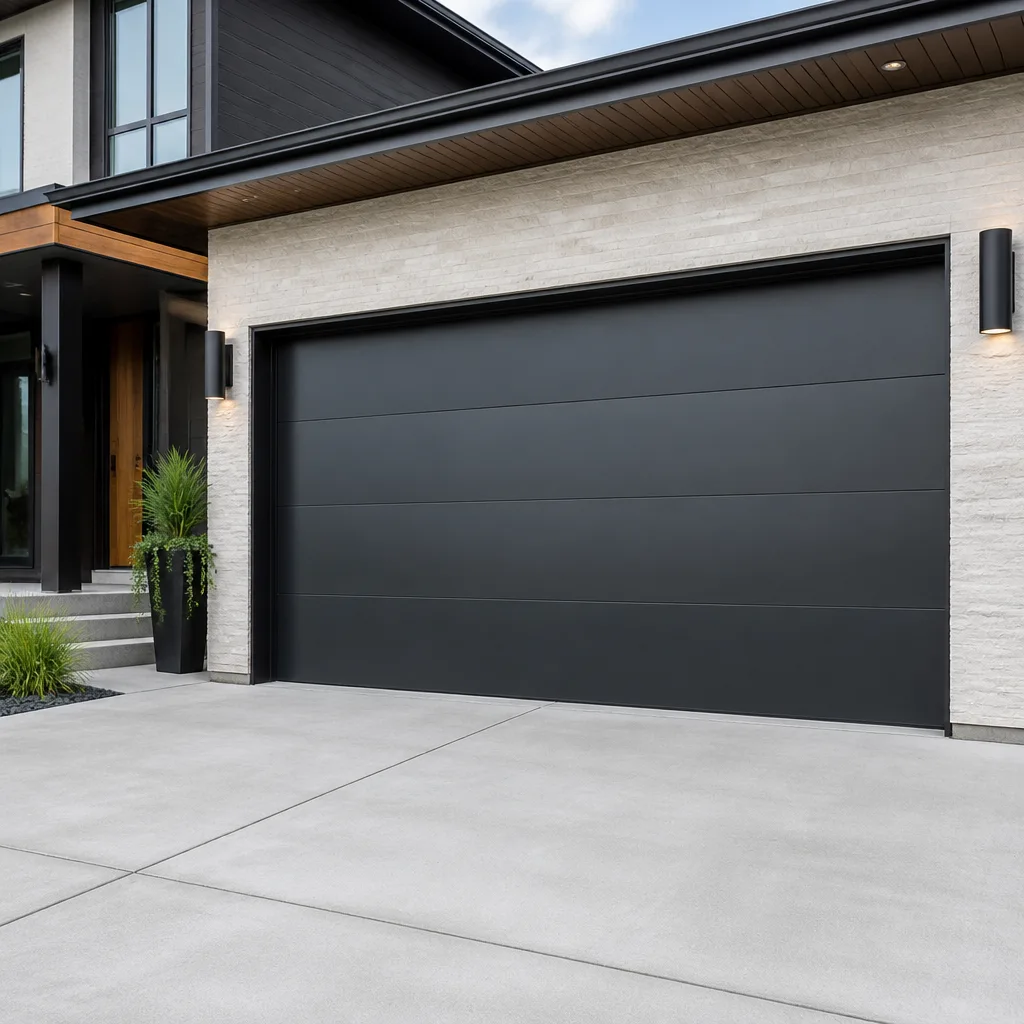 Modern flush
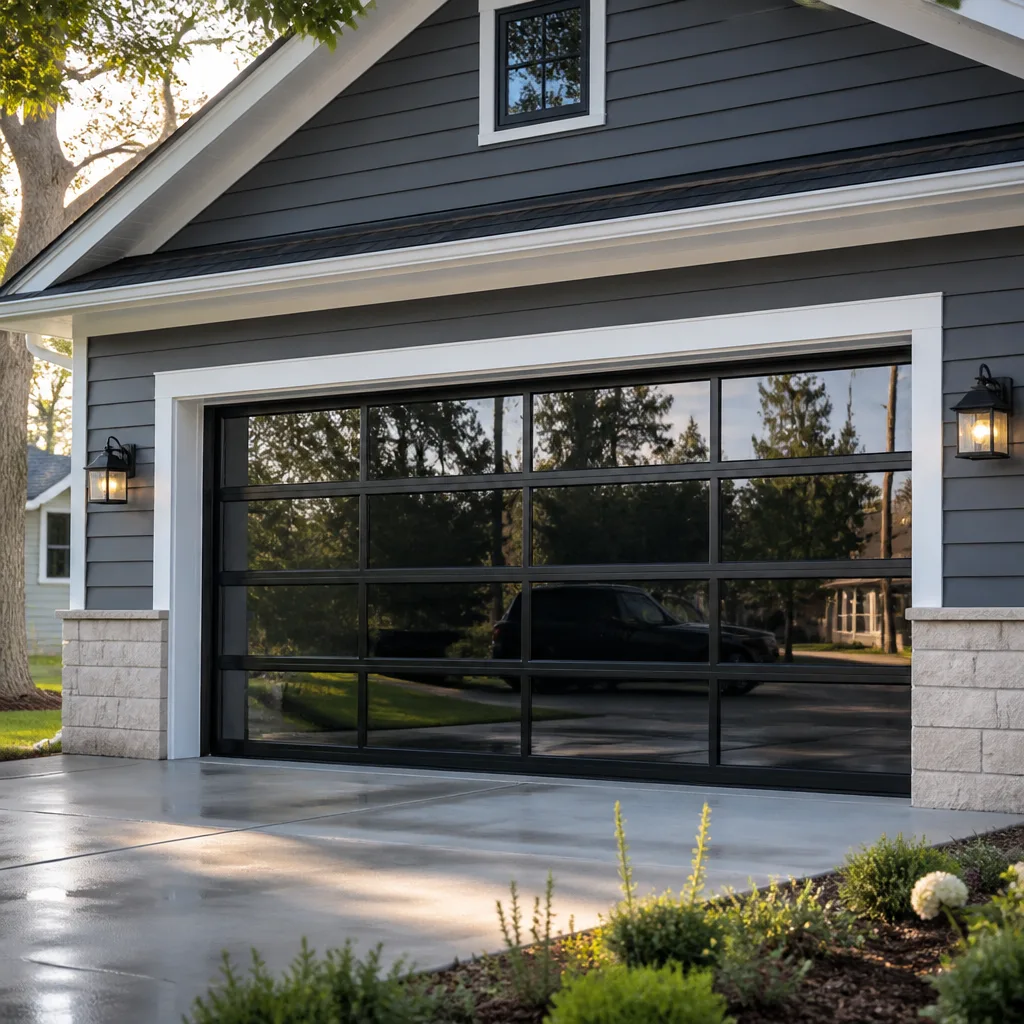 Full-view glass
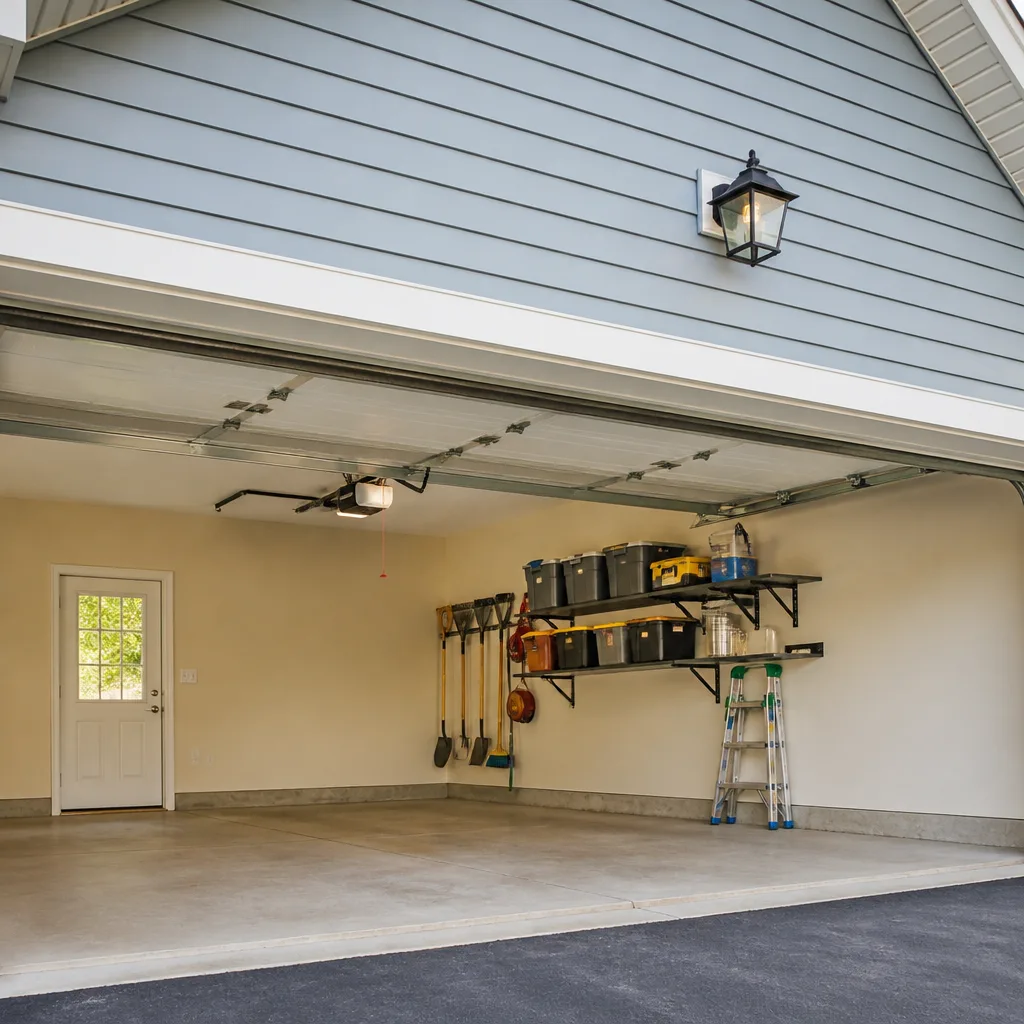 LiftMaster openers
 Chamberlain openers
Full 25-point door and opener safety check with every visit - springs, cables, rollers, tracks, and your LiftMaster or Chamberlain opener included
You get a price before we start. It does not change when the pro arrives.
Get your free estimateGarage Door Repair Maintenance Checklist for Odessa Homeowners
The most common maintenance advice says to lubricate your garage door springs twice a year. In Odessa, that schedule falls apart fast. Caliche dust blows in off the open ground and turns a thin film of lubricant into a grinding paste within weeks, and summer heat bakes whatever’s left into a sticky residue that collects even more grit. Frequency and product choice matter more here than any calendar a manufacturer printed for a climate nothing like ours. What follows is the checklist we’ve built from the failure patterns we actually see on doors across Odessa: what to check, what to use, and what to leave alone.
Quick Answer
A garage door maintenance checklist for Odessa should focus on dust control, heat-stressed lubricants, and wind-driven hardware checks rather than a generic twice-a-year routine. Inspect rollers, hinges, and tracks monthly during dusty stretches, clean and re-lubricate with a dry PTFE or silicone spray instead of heavy grease, and test the balance, force resistance, and auto-reverse every few months. Springs, cables, and opener electrical work always belong to a trained technician. In a dusty, hot climate like ours, keeping up with small tasks prevents the big, expensive breakdowns.
Styles & brands we work with
- Raised-panel steel
- Carriage house
- Modern flush
- Full-view glass
- LiftMaster openers
- Chamberlain openers
Table of Contents
- Why an Odessa-Specific Checklist Matters
- The Right (and Wrong) Lubricants for West Texas Dust and Heat
- The Visual Inspection Sequence Technicians Actually Run
- What to Check After a West Texas Wind or Dust Storm
- How to Test Balance, Force, and Auto-Reverse Safely
- A Month-by-Month Task Breakdown for Odessa’s Seasons
- Brand-Specific Maintenance Notes
- Common Mistakes to Avoid
- When to Call a Professional
- Frequently Asked Questions
Why an Odessa-Specific Checklist Matters
Garage door hardware is engineered and tested in clean, controlled conditions. Odessa doesn’t offer those conditions. Between the caliche dust that coats everything after a windy day and the long stretches of triple-digit heat, the parts that move on your door face a workload the manual never accounted for. That’s the core reason a copied-and-pasted checklist underdelivers here.
Dust is the bigger problem, and it’s relentless. Caliche is a calcium-rich soil common across the Permian Basin, and when it dries and blows, it’s fine enough to work into every hinge pin, roller bearing, and track groove. On its own it’s abrasive. Mixed with the wrong lubricant, it becomes a lapping compound that slowly wears metal down. In our experience, doors that get neglected here show roller and hinge wear faster than the manufacturer’s service intervals suggest, simply because the grit never stops arriving.
Heat is the second factor. Summer afternoons push lubricants past their working temperature, so a heavy grease that seems fine in spring can thin, migrate, and drip by July, leaving the moving parts it was meant to protect dry again. Torsion springs also live under constant tension in a hot garage, and heat cycling is unforgiving on any metal that flexes. You can’t stop the heat, but you can keep the hardware clean and properly lubricated so it does its job without added friction.
We work on garage doors across Odessa, from older neighborhoods near downtown to newer subdivisions out toward the west side, and the pattern holds everywhere: the doors that get monthly attention need fewer repairs. If you want a baseline for how your door is doing overall, our Odessa Garage Door Service page walks through the full scope of what we handle.
The Right (and Wrong) Lubricants for West Texas Dust and Heat
For a dusty, hot climate, use a dry PTFE or silicone-based spray lubricant on hinges, rollers, and the torsion spring, and skip heavy grease and general-purpose oil entirely. Dry-film lubricants leave a thin, non-tacky coating that protects the metal without grabbing dust. That single choice prevents most of the grit-related wear we see.
Here’s why it matters so much in Odessa. A wet lubricant is sticky by design – it clings to the part. In a clean garage, that’s fine. In a garage with caliche dust drifting in, sticky becomes a trap. Within a week or two, the coating is holding a layer of abrasive powder, and every time the door cycles, that powder grinds against the hinge pin and roller. The lubricant meant to reduce wear has become the source of it.
What to use and what to avoid:
- Use dry PTFE spray on hinge pivots, roller stems, and bearings. It goes on wet, dries to a thin film, and stays put without collecting dust.
- Use silicone spray as an alternative on the same parts. It’s clean, doesn’t attract grit, and works well in heat.
- Use a light white lithium grease sparingly only where a manufacturer specifically calls for it, and wipe off any excess so it doesn’t become a dust magnet.
- Avoid heavy wheel-bearing grease and chassis grease on hinges and rollers. They hold dust and thin out in the summer heat.
- Avoid WD-40 as a long-term lubricant. It’s a great solvent and water displacer, but it evaporates and leaves parts drier than before.
- Never lubricate the tracks. Tracks should stay clean and dry. Lubricant in a track turns into a dust-catching paste that the rollers have to plow through.
- Never spray lubricant on the springs’ cable or on the opener rail’s belt or chain unless the opener manual specifies a product. Most modern Genie and LiftMaster units use belt or chain drives that have their own requirements.
Wipe each part down with a dry cloth before you re-lubricate. Applying fresh spray over a layer of dusty old product just traps the grit underneath.
The Visual Inspection Sequence Technicians Actually Run
The manufacturer’s ten-point PDF is a good start, but technicians don’t run it top to bottom. They run a sequence built around how a door fails: the opener first, then the moving hardware, then the safety systems, then the door itself. Walking the door in that order catches the cause of a problem, not just its symptom.
Here’s the order we use, and the order you can borrow for your own monthly check:
- Watch the opener. Run the door and listen. Grinding, squealing, or a motor that strains at the start points to a mechanical problem, not an opener problem. Note where the sound comes from before you touch anything.
- Look at the springs. With the door closed, check the torsion spring (the coil above the door) or extension springs (along the sides) for visible gaps, rust, or sagging. A spring with a gap has failed and the door is being held by the opener alone. Stop and call a technician.
- Check the cables. Look for fraying, kinks, or slack on both sides. Cables under tension are dangerous to handle, so this is a look-only check.
- Inspect the rollers. Steel rollers develop flat spots; nylon rollers crack. Both cause rough travel and noise. Spin each one by hand with the door closed.
- Test each hinge. Grab the hinge plates and wiggle them. Loose or worn hinges let the door sag and throw the panels out of alignment.
- Wipe the tracks. Run a rag along the inside of each track. A heavy gray film means dust is building up. Clean it with a dry cloth, not a lubricant.
- Check the weather seal and bottom bracket. The bottom rubber seal hardens and cracks in Odessa heat; a stiff seal also makes the door harder to close.
- Test the safety systems last. The photo-eye and auto-reverse test come after everything else, once you know the door runs cleanly.
Notice what’s not on that list: no loosening, no adjusting, no tightening of anything under tension. The sequence is a look-and-listen inspection. When it turns up something that needs a tool, that’s your cue to bring in a specialist. Our garage door repair team runs this exact sequence on every service call.
What to Check After a West Texas Wind or Dust Storm
After a hard wind or dust storm, check the tracks for grit, the rollers for debris, the hinges for loosening, and the bottom seal for grit caught under it – then run the door slowly and listen for anything new. Most post-storm problems aren’t visibly broken parts. They’re grit and grit-driven misalignment.
Odessa wind does two things to a garage door. First, it drives dust into every opening, so a door that cycled smoothly last week now grinds. Second, sustained gusts flex the door panels and can nudge an already-loose hinge or roller out of its seat. Neither problem looks dramatic from the driveway, which is why a slow visual pass matters more than waiting for something to break.
Here’s the post-storm walk-around:
- Wipe the tracks clean. Dust settles into the grooves and the rollers plow it into the corners. A dry cloth and a few minutes prevents weeks of wear.
- Blow out the rollers and hinges. A dry cloth or a quick pass with compressed air clears grit from the bearing surfaces before it gets worked in.
- Check the bottom seal. Grit gets trapped between the seal and the floor, and the seal abrades against it every time the door closes.
- Inspect the tracks for bends. Wind-driven debris or a slack cable can knock a track out of alignment. Look down each track from the door’s edge and see if the gap stays even.
- Look at the panels. Small dings at the edges of panels are common after a storm and can develop into alignment problems if a hinge is stressed.
- Cycle the door slowly and listen. Any new grinding or popping after a storm is a signal to stop and get it looked at, not to run it harder.
In our experience, doors with a screen or partial shelter stay cleaner, but most of Odessa’s garages are exposed on the windward side. If the wind kicks up a lot of dust in your area, plan on a post-storm check as part of your routine, not an exception to it.
How to Test Balance, Force, and Auto-Reverse Safely
You can test balance, force resistance, and auto-reverse without special tools, and those three tests catch most early problems. Do them with the door closed and the opener disconnected: disconnect the opener, lift the door partway, and see if it stays. Then reconnect the opener, run the door, and check that it reverses when it meets resistance. Every test is a “check,” not a “fix.”
These three checks tell you whether the door is safe to operate. A door that fails any of them should not be run until it’s repaired. Here’s how each one works:
- The balance test. Disconnect the opener using the release cord (usually a red handle). Lift the door about halfway by hand and let go. A balanced door holds its position or drifts only slightly. If it slams down or flies up, the springs are out of balance or a spring has partially failed, and that’s a professional call.
- The force resistance test. With the opener connected, start the door closing and gently resist it with one hand as it comes down. The door should reverse on contact. If you can feel it push through your resistance, the opener’s force setting is too high and needs adjustment.
- The auto-reverse test. Place a small object (a roll of tape or a piece of wood a couple inches tall) on the floor under the middle of the closing door. The door should reverse when it hits the object. If it doesn’t, the photo-eye or the opener’s sensor circuit needs attention.
- The photo-eye test. With the door closing, wave your foot or a broom handle between the two sensors mounted near the floor. The door should stop and reverse immediately. A door that keeps closing with the beam broken has a wiring or alignment problem that needs fixing.
Here’s where we add the safety caveat, and we mean it: a garage door’s torsion spring is under enough tension to cause serious injury, and the cables beside it are equally dangerous. Never try to adjust, wind, or loosen springs or cables yourself. Those parts belong to a trained technician. If any of the tests above fail, stop and call. The tests are your early warning system, not a DIY repair guide. For opener-specific issues, our garage door opener repair team handles the electrical side.
A Month-by-Month Task Breakdown for Odessa’s Seasons
Odessa’s two maintenance windows are spring, when the wind and dust are heaviest, and fall, when the heat eases. The other months are for quick checks. That’s a more useful rhythm than the generic four-season template, which assumes a wet winter and a mild summer we don’t have.
Here’s a working calendar built for the actual climate:
- January – February (cool and dry): Do a full inspection using the sequence in the earlier section. Clean and re-lubricate hinges and rollers with dry PTFE. Check the bottom seal, which hardens in cold nights and warm days. Test the auto-reverse. This is the best month for a full walk-through because the door runs in moderate temperatures.
- March – May (wind and blowing dust): Wipe the tracks weekly, blow out the rollers and hinges monthly, and expect the first big dust storm of the year. This is the season that punishes neglected lubricant hardest. Re-lubricate monthly, not twice a year.
- June – August (peak heat): Watch for lubricant that has thinned and dripped; wipe and re-apply. Check that the bottom seal hasn’t hardened further. Run the door at midday occasionally – if the motor strains more in the heat, that’s a sign the opener’s working harder than it should. Listen for spring creaking when the door runs.
- September – October (the fall window): Second full inspection of the year. Re-lubricate with dry PTFE, re-test balance and auto-reverse, and check panel alignment and hinges for loosening after the summer. This is the time to replace anything showing wear before winter.
- November – December (cool, quieter): Final quick checks. Clear out dust from the tracks, test the photo-eye sensors, and look at the opener’s wiring and remote battery. This is a good moment to spot anything that needs a repair before the next year’s dust season.
If you want a single rule of thumb to hang on the wall: in Odessa, lubricate monthly during dust season and quarterly the rest of the year. That’s the meaningful change from the generic twice-a-year guidance. Manufacturers wrote their schedules for a garage with clean air and cool temperatures, not a garage on the Permian Basin.
Brand-Specific Maintenance Notes
Brand coverage matters more than most homeowners realize. The door and the opener are separate systems, made by separate companies, and each has its own maintenance quirks. We work on the door and opener you already own rather than only the brands we sell, which is a big part of why we can give honest advice.
On the opener side, our technicians are certified to service eight of the most widely installed garage door and opener brands, including LiftMaster, Chamberlain, Genie, and Craftsman. Each has its own maintenance touch points:
- LiftMaster and Chamberlain openers (many are the same platform under different names) usually use belt or chain drives with tension settings that affect the whole door. If the motor strains, check the door’s balance before blaming the opener.
- Genie units often use a chain and a screw-drive configuration. Screw-drive openers need the rail kept clean of dust, because a dusty screw drive grinds rather than glides.
- Craftsman openers, many of them older, are common on legacy doors across Odessa. On these, the remote and the safety sensors are the first things to check when the door won’t respond.
On the door side, we cover major manufacturers including Clopay, Amarr, and Wayne Dalton. Door brands vary in hinge style and roller type, which changes which parts to check first. If you’re unsure what’s in your garage, we’ll identify it for you on the service call instead of guessing. That’s the whole point of a brand-agnostic service: the door you own gets the attention it needs. If you’re in the middle of figuring out whether a repair or a new door is the more sensible step, our Odessa service overview lays out the options for local homeowners.
Common Mistakes to Avoid
- Using heavy grease on hinges and rollers. It’s the single most common mistake in dusty climates. Grease holds the caliche dust and turns into an abrasive paste that wears your hardware down faster than leaving it dry.
- Lubricating the tracks. Tracks should stay clean and dry. Oil in a track collects dust and makes the rollers drag. Wipe them clean with a dry cloth instead.
- Following a twice-a-year schedule here. That calendar was written for a clean garage in a mild climate. In Odessa’s dust and heat, monthly lubrication in dust season is the minimum that protects your hardware.
- Testing auto-reverse with a hand. The photo-eye test is the safe way, plus a small object on the floor. Testing a closing door with your hand or body is a risk you don’t need to take.
- Ignoring a spring with a visible gap. A gap means the spring has failed and the opener alone is carrying the door. Running it in that condition stresses the opener and the rest of the hardware; stop and call a technician.
- Blaming the opener for a door problem. A straining motor is often the symptom of a door that’s out of balance or a roller that’s dragging. Fix the door, and the opener behaves.
- Letting sand and grit build up in the bottom seal. It abrades the seal against the floor every time the door closes. A dry cloth pass now and then extends the seal’s life.
When to Call a Professional
Call a professional when a spring shows a gap, a cable is frayed or slack, the door won’t stay level, the opener strains or reverses for no reason, or the balance and auto-reverse tests fail. Those are not DIY adjustments. The springs and cables store serious energy, and the opener’s electrical side belongs to someone trained for it. Routine tasks like wiping tracks, lubricating hinges and rollers, and testing the photo-eye stay in your hands.
There’s a middle zone, too: worn rollers, a noisy opener, a door that’s drifted out of alignment, or a bottom seal that’s cracked and no longer sealing. Those are worth a professional look before they become a bigger repair. From an opener glitch to a full replacement, a single specialist handles it. Odessa Garage Door Service offers free estimates in Odessa. Call (844) 765-2569. We answer 24/7. Fast dispatch from 7am to 7pm, Sunday through Friday. Your price is quoted and agreed before any work starts, and our technicians have up to 11 years of experience.
Frequently Asked Questions
Monthly during dust season and every three months the rest of the year, using a dry PTFE or silicone spray. The standard twice-a-year advice assumes a clean, cool garage. Odessa’s caliche dust settles into hinge pins and roller bearings within weeks, and in the summer heat a heavy lubricant thins and drips off. If your garage faces an open field or a dusty lot, lean toward monthly year-round. Call (844) 765-2569 for an exact quote on a full inspection; estimates are free.
Avoid heavy grease, wheel-bearing grease, and general-purpose oil on hinges and rollers. Those products are sticky by design and hold the caliche dust that blows into an Odessa garage, turning into an abrasive paste that wears metal faster than a dry part would. Use dry PTFE or silicone spray instead, and never put any lubricant in the tracks. If you’re unsure what’s right for your door, we’ll tell you on a service call.
Yes. Place a small object a couple inches tall on the floor under the closing door and confirm it reverses on contact; then check the photo-eye by breaking the beam with a broom handle. Don’t test it with your hand or body. If the door doesn’t reverse, stop using the opener and call a technician. Call (844) 765-2569 for an exact quote; estimates are free.
Heat stresses the lubricant, the springs, and the opener’s motor all at once, and Odessa summers push all three. Lubricant that was fine in spring thins and migrates, leaving moving parts dry. Torsion springs under constant tension lose some efficiency in extreme heat. A door that’s harder to open in summer is often just under-lubricated – but if it’s straining badly even after a clean and re-lube, have a technician look at the balance and the opener’s force settings.
No. Torsion springs and the cables beside them are under enough tension to cause serious injury, and adjusting them without proper tools and training is unsafe. A trained technician diagnoses whether a spring has failed, is out of balance, or has simply aged, and replaces it correctly. The rest of the checklist – cleaning, lubricating, testing – is safe to do yourself. Leave the springs and cables to a professional.
Wipe the tracks clean, blow grit out of the rollers and hinges, check for grit caught under the bottom seal, and look down each track for bends. Then run the door slowly and listen for anything new. Most post-storm garage door issues in Odessa are grit and grit-driven misalignment, not broken parts, so a quick visual pass prevents small problems from growing. If something sounds or feels wrong, call a technician before running the door again.
The Bottom Line
Garage door maintenance in Odessa isn’t about following a manufacturer’s calendar; it’s about managing the dust and heat that make this climate hard on moving hardware. Use dry PTFE or silicone spray instead of grease, lubricate monthly during the dusty months, wipe the tracks clean, and test the balance and auto-reverse every quarter. Keep the springs and cables in a professional’s hands. Do that, and your door stays quieter, safer, and cheaper to run for longer. Odessa Garage Door Service is here when a repair goes past basic maintenance, from opener issues to a full replacement. Call (844) 765-2569 for a free estimate. We answer 24/7. Fast dispatch from 7am to 7pm, Sunday through Friday.
Written by the team at Odessa Garage Door Service.
See the difference
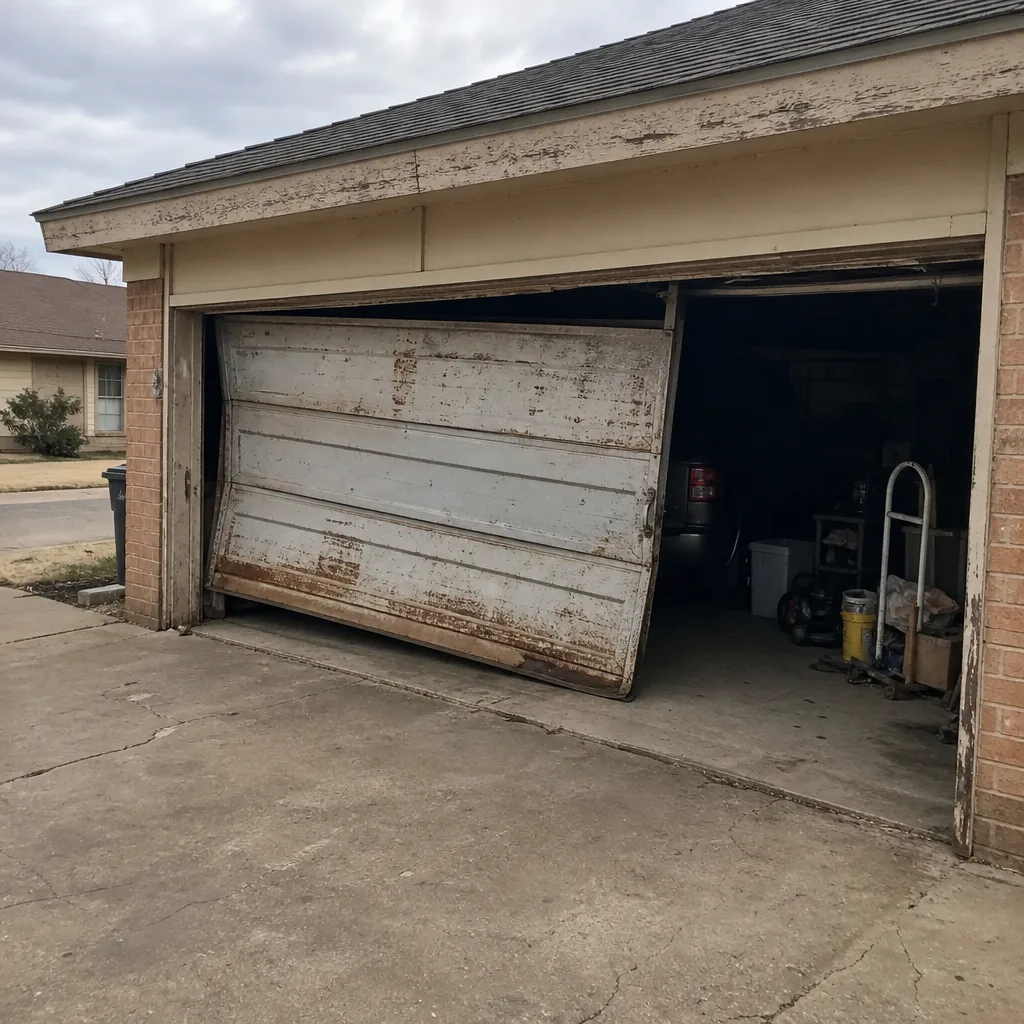 Before
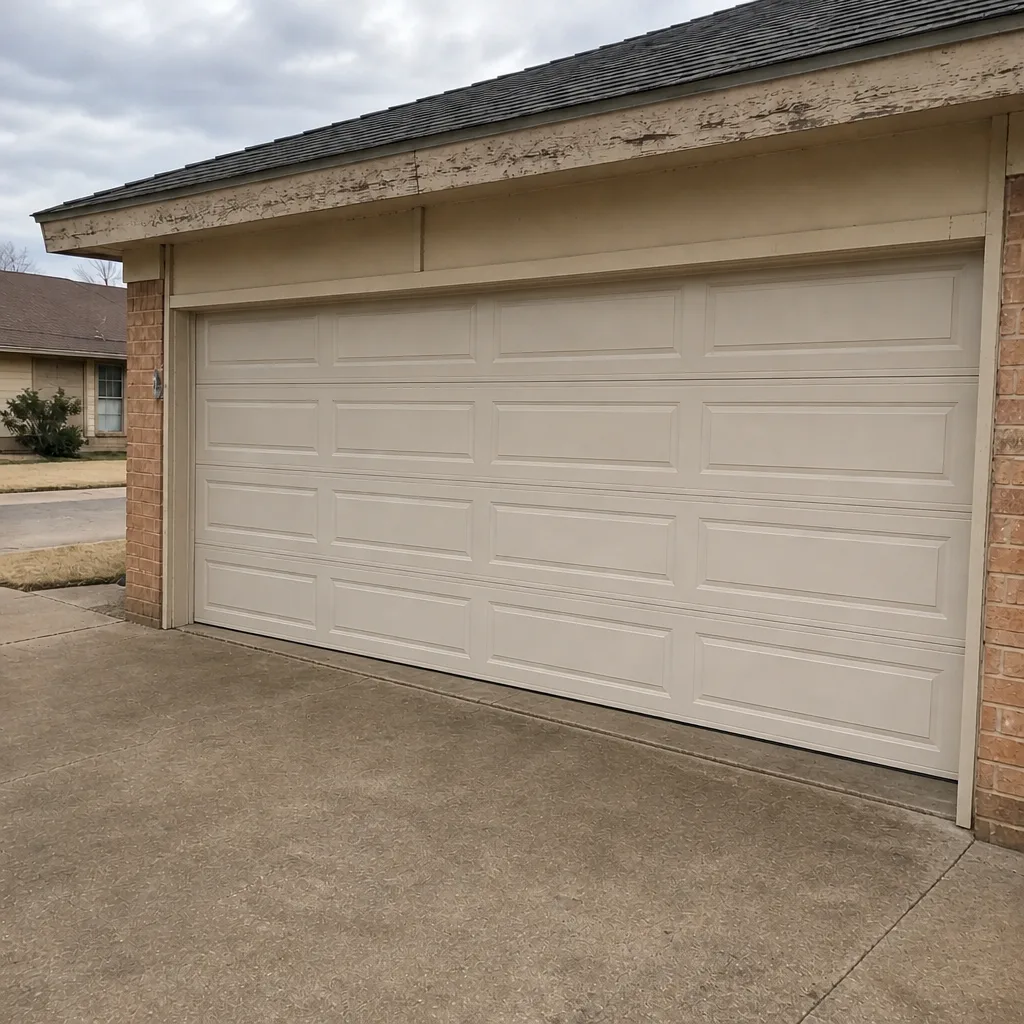 After
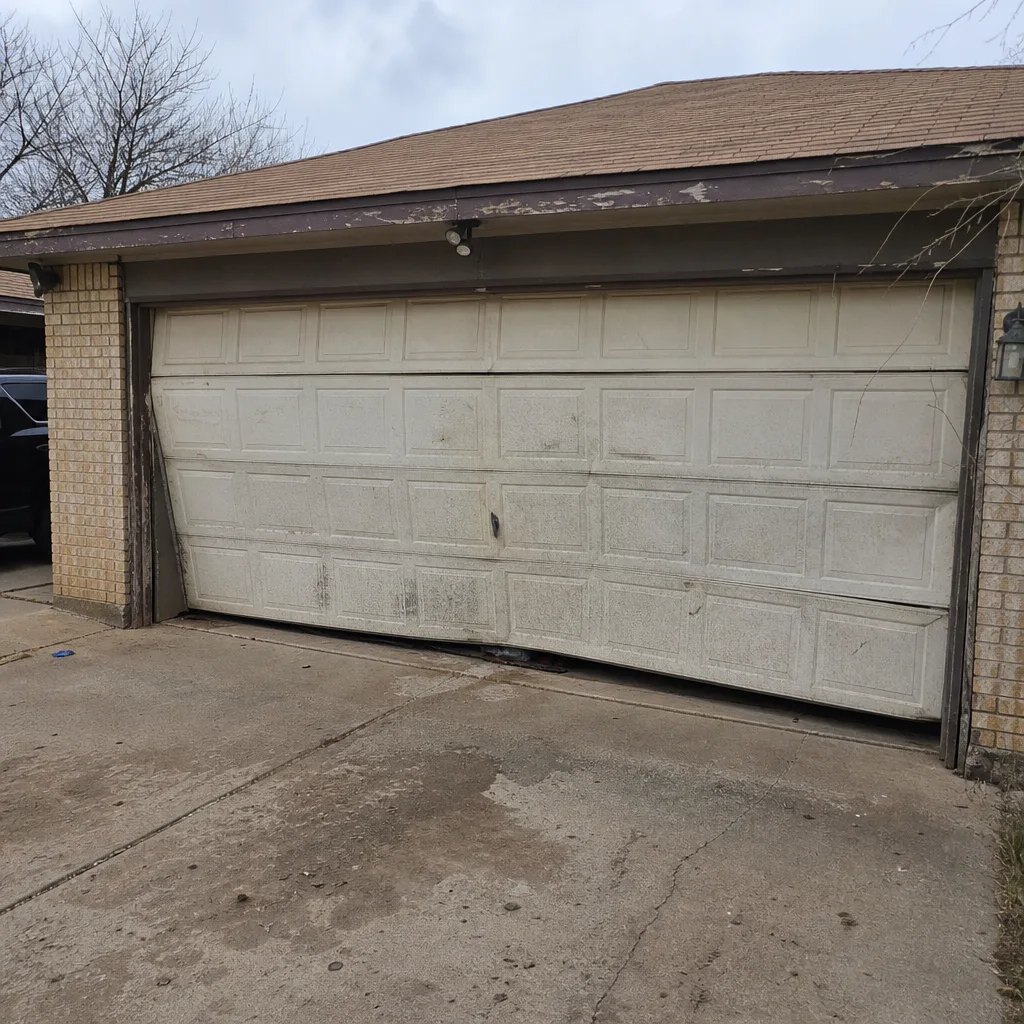 Before
 After
 Before
 After